The Historical Significance of Filo Dough
Filo dough, often spelled ‘phyllo,’ has ancient roots. Dating back centuries, this delicate and thin dough has found its rightful place in the culinary world. Emerging as a favorite in Mediterranean and Middle Eastern cuisines, filo dough has not only served as a staple but also as a representation of the rich history and tradition of these regions. Every layer tells a story, and every dish using filo embodies the essence of age-old cooking techniques.
Why Opt for Homemade Filo?
There’s something genuinely captivating about making things from scratch. Sure, supermarket aisles are flooded with ready-made filo, but the authenticity and taste of homemade dough are unparalleled. When you make filo at home, you’re not just preparing a component for a dish; you’re weaving a culinary experience. You gain control over the ingredients, ensuring no preservatives or unwanted additives enter your food. Plus, the joy of mastering the technique? It’s worth every minute you invest.
Understanding Filo Dough
What Exactly is Filo Dough?
At its core, filo dough is simplicity at its finest. Comprising mainly flour, water, a smidgeon of oil, and a pinch of salt, filo dough is the perfect example of how essential ingredients can transform into culinary gold. The magic lies in its preparation – rolling it out to achieve a paper-thin consistency. And for those curious about the science, it’s all about the gluten. Gluten strands form when water is added to flour, giving the dough its elasticity. When kneaded, these strands strengthen, allowing the dough to be stretched without tearing, resulting in those delicate layers.
Famous Dishes Using Filo
You might’ve already savored some of them without realizing the hero behind the scenes – the filo. Here’s a list of renowned dishes that owe their fame to filo:
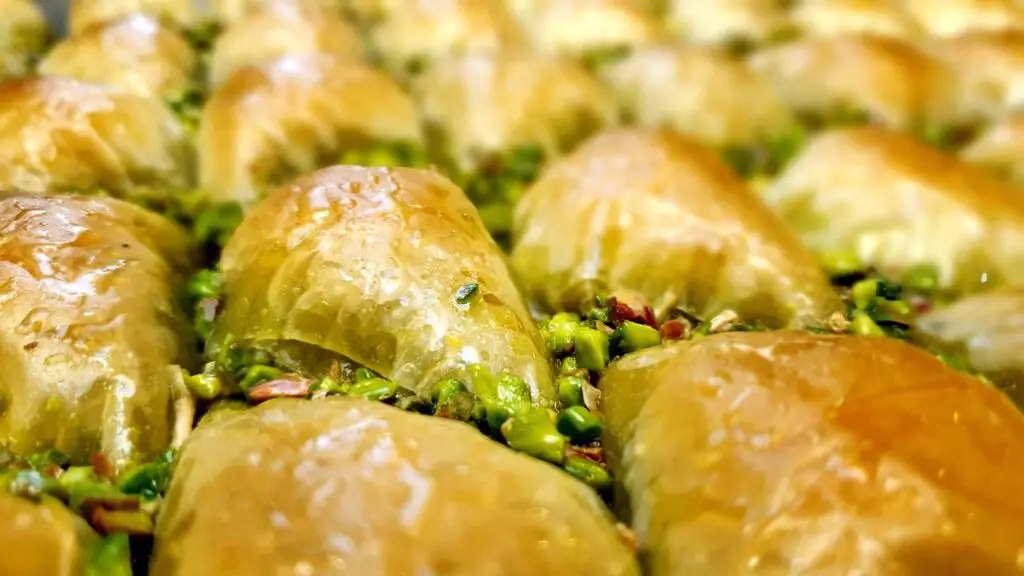
- Baklava: A sweet dessert made of layers of filo, filled with chopped nuts, and sweetened with syrup or honey.
- Spanakopita: A Greek savory pie filled with spinach, feta, onions, and seasonings.
- Börek: A family of baked or fried pastries made of filo and filled with various ingredients like cheese, meat, or vegetables.
Filo vs. Other Doughs
Understanding filo becomes even more fascinating when you compare it with its cousins. Let’s take a peek:
| Dough Type | Main Ingredients | Texture | Common Uses |
|---|---|---|---|
| Filo | Flour, water, oil, salt | Extremely thin layers | Pastries, both sweet and savory |
| Puff Pastry | Flour, butter, water, salt | Light and flaky | Desserts, meat pies, turnovers |
| Shortcrust | Flour, fat, water | Crumbly | Pie crusts, tarts |
Though each has its charm, filo stands out for its unique texture and versatility.
Ingredients and Tools
Essential Ingredients for Filo Dough
The beauty of filo dough lies in its simplicity. Unlike many other recipes that call for various ingredients, filo dough requires just a few. But it’s crucial to get them right:
- Flour: The backbone of your filo dough. Typically, all-purpose flour does the trick.
- Water: Helps in gluten formation and gives the dough its necessary elasticity.
- Oil: A touch of oil ensures the dough remains pliable and easier to work with.
- Salt: Enhances the flavor.
Insight: The simplicity of filo dough ingredients reflects its historical origins. In ancient times, only basic pantry staples were at hand, yet they were transformed into exquisite dishes.

Choosing the Right Flour
When it comes to filo dough, the type of flour can be pivotal.
- All-Purpose Flour: A safe bet for most. It has a moderate protein content, allowing for a good balance of elasticity and tenderness.
- Bread Flour: With a higher protein content, bread flour can make the dough more elastic. While not the traditional choice, it can be used if you’re looking for a slightly chewier texture.
- Pastry Flour: Lower in protein, pastry flour makes for a tender dough but might not offer the stretchiness needed for filo.
Scientific Information: The protein in flour forms gluten when mixed with water. The more the protein, the more the gluten, and thus, more elasticity.
Necessary Tools
While the ingredient list is short, having the right tools can make your filo-making process smoother:
- Mixing Bowl: Combine your ingredients.
- Rolling Pin: To roll out your dough to the desired thinness.
- Dough Scraper: Useful for handling and dividing the dough.
- Clean Cloth: To cover resting dough and prevent it from drying out.
In the age-old traditions of making filo, many used a long wooden dowel, allowing for a broader rolling surface. While that’s still the preference in some regions, a standard rolling pin works wonders in most modern kitchens.
Preparing the Dough
Step-by-Step Guide to Making Filo Dough
Embarking on the journey to make homemade filo can be both exhilarating and challenging. Let’s dive into the detailed steps to guide you:
- Combining the Ingredients: In a large mixing bowl, mix flour and salt. Create a well in the center and pour in the water and oil gradually. Mix until a rough dough forms.
- Kneading: Turn the dough onto a clean, floured surface. Knead for about 10 minutes, or until the dough becomes smooth and elastic. Remember, kneading is vital – it strengthens the gluten, allowing your filo to stretch without tearing.
- Resting: Divide the dough into small balls, about the size of golf balls. Place them on a tray, ensuring they’re not touching. Cover with a clean cloth and let them rest for at least an hour. This resting phase allows the gluten to relax, making the subsequent rolling easier.
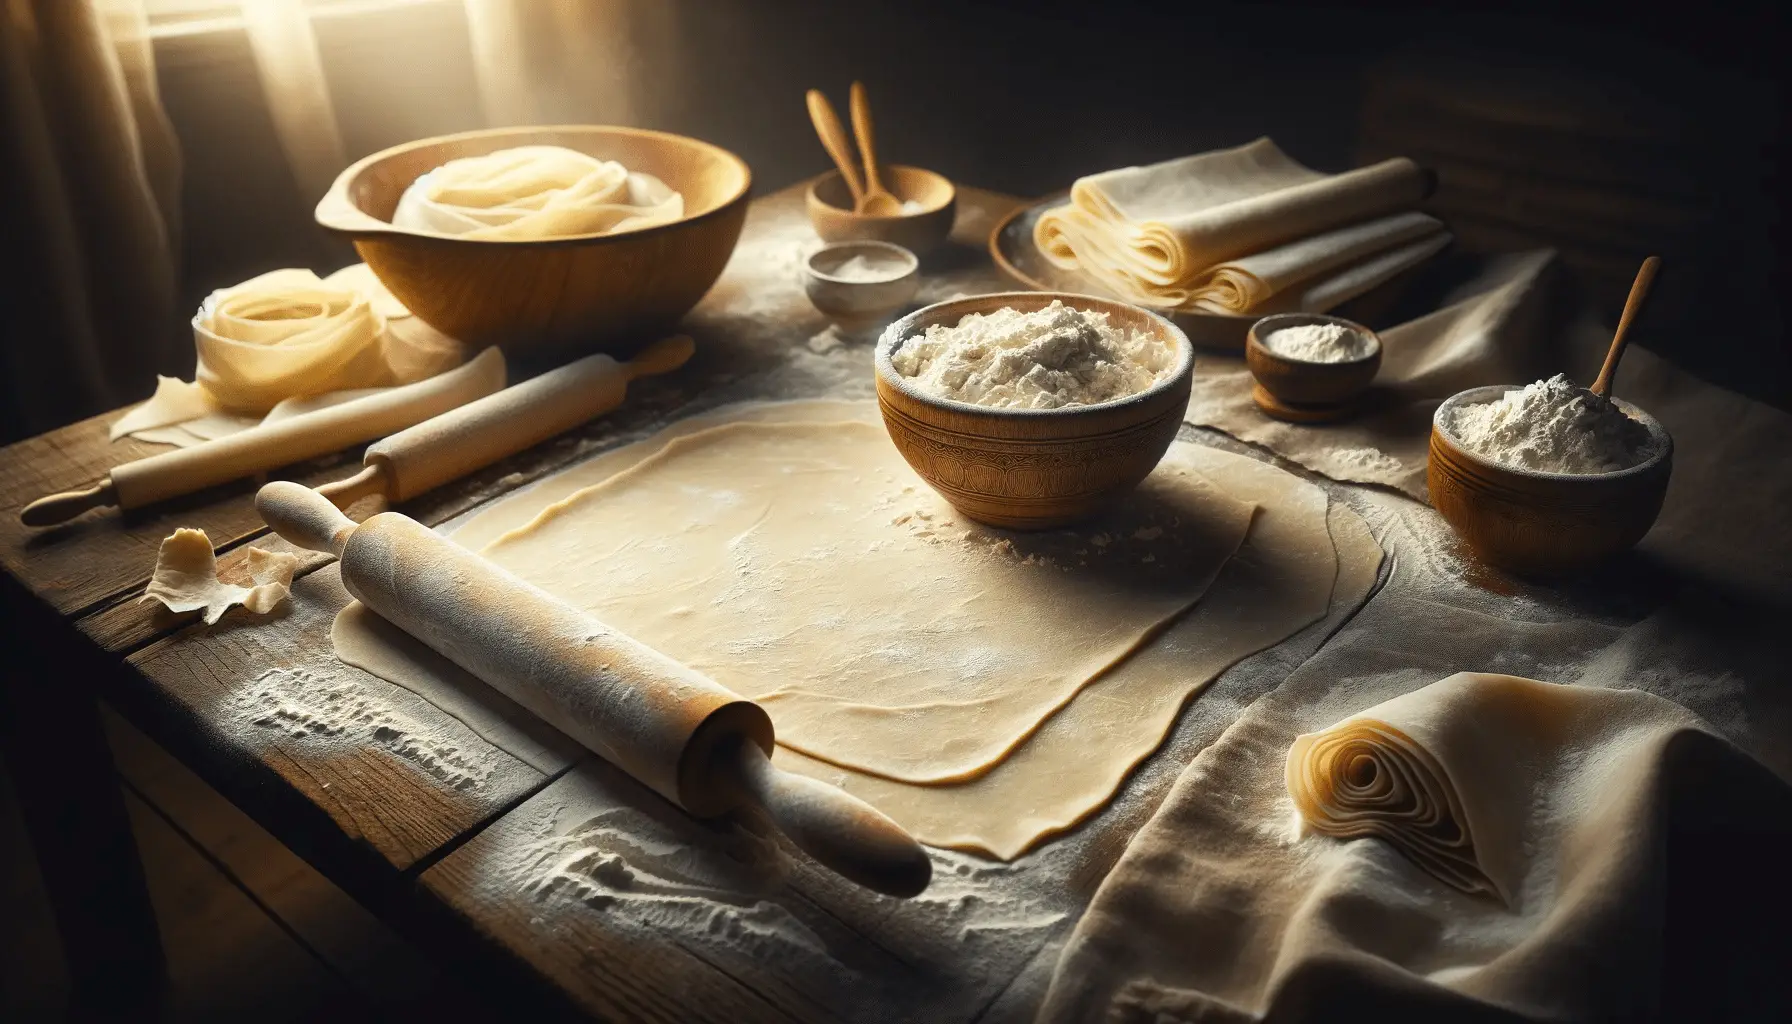
- Rolling: Here comes the fun and slightly tricky part. Using your rolling pin, roll out each ball as thinly as possible. Aim for a near-translucent thickness. Lay each rolled sheet on a clean cloth, and keep them covered to prevent drying.
- Using or Storing: You can immediately use the sheets, or if you’re planning to store them, place parchment paper between each sheet to prevent sticking.
Remember the old saying, ‘Patience is the key’? Making filo requires a lot of it. But the result? Absolutely rewarding.
Kneading to Perfection
The art of kneading is central to making the perfect filo. The motion should be rhythmic, pressing the dough with the heel of your hand and then folding it back over itself. Turn the dough slightly and repeat.
In-depth Analysis: Over-kneading can make the dough too tough, resulting in hard filo sheets. On the other hand, under-kneading might not develop enough gluten, making the sheets tear easily. Aim for that sweet spot where the dough feels pliable yet doesn’t tear easily.
Rolling the Dough Thinly
Achieving the iconic thinness of filo dough can be daunting, but practice makes perfect. Ensure your working surface is well-floured. Start from the center and roll outwards, rotating the dough frequently. The goal is to achieve a paper-thin sheet, where you can almost read a newspaper through it.
Patience, persistence, and practice are your best friends when rolling out filo. If the first few attempts aren’t perfect, don’t be disheartened. Even seasoned chefs took time to master this art.
Common Challenges and Solutions
Troubleshooting Your Filo Journey
Like any culinary endeavor, making filo dough might present some challenges, especially for beginners. Let’s address some common issues and offer solutions to ensure your filo-making adventure is smooth sailing.
Issue 1: The Dough Keeps Tearing
Tearing can occur due to a few reasons:
- Insufficient Kneading: Not kneading the dough long enough might result in weaker gluten structures. Ensure you knead for about 10 minutes until the dough is smooth and elastic.
- Not Resting the Dough: Skipping or shortening the resting time can make the dough less pliable. Always let it rest for at least an hour.
Issue 2: Dough Feels Too Sticky or Too Dry
Humidity, quality of flour, or slight measurement discrepancies can lead to a dough that’s too wet or too dry.
- Too Sticky: If your dough is sticking too much to the surface or your hands, knead in a little more flour until the desired consistency is achieved.
- Too Dry: Sprinkle a bit of water and knead until the dough feels pliable.
Issue 3: Unable to Achieve Paper-Thin Consistency
Achieving the right thinness is arguably the most challenging part of making filo.
- Technique: Ensure your surface is well-floured and roll from the center outwards.
- Persistence: Remember, practice makes perfect. The more you work with filo dough, the better you’ll become at rolling it thinly.
Issue 4: The Sheets Dry Out Quickly
Filo sheets are notorious for drying out rapidly.
- Immediate Cover: As soon as you roll out a sheet, lay it on a cloth and cover it. If stacking multiple sheets, place parchment paper between them.
- Humidity: Working in a humid environment can help, but if that’s not feasible, a slightly damp cloth (not wet) can be used to cover the sheets.
Expert Tip:
While it’s natural to aim for perfection, remember that minor imperfections won’t significantly impact the final dish. Whether it’s a small tear or a slightly thicker section, once your filo is layered and baked, many of these minor hiccups become unnoticeable.
Beyond Basics – Variations and Uses
Diversifying Your Filo Repertoire
While the traditional filo recipe is time-honored and revered, culinary innovation allows for delightful variations. Here’s a look at some tweaks you can introduce and the myriad ways you can utilize your homemade filo dough.
Flavor-Infused Filo
Jazz up your filo sheets by infusing them with flavors. Here are some ideas:
- Herb Infused: Add finely chopped herbs like parsley, dill, or rosemary to your dough for a touch of green and a burst of flavor.
- Spiced Up: Incorporate a hint of spices like paprika, turmeric, or even a touch of cinnamon for a unique twist.
- Citrus Zest: Grated lemon or orange zest can lend a subtle citrusy aroma, perfect for desserts.
Using Your Homemade Filo Dough
The versatility of filo is astounding. Beyond the classic dishes, here are some innovative ways to use your filo:
- Filo Cups: Mold your filo sheets in muffin tins and bake. Once crisp, these can be filled with savory fillings or sweet delights.
- Filo Twists: Cut the sheets into strips, twist them, and bake. Perfect as appetizers or even as breadsticks with a dip.
- Filo Wrapped Delights: Be it cheese, fruits, or meats – wrap them in filo, bake, and enjoy a crispy, golden treat.
Storing Your Filo
If you’ve made a batch and wondering how to store it:
- Short Term: In the refrigerator for a couple of days. Ensure you place parchment paper between each sheet and wrap the stack in plastic wrap.
- Long Term: In the freezer for up to two months. Again, use parchment paper between sheets, then wrap in plastic and finally in aluminum foil to prevent freezer burn.
Incorporating Filo into Modern Cuisine
As the world of gastronomy evolves, so do traditional ingredients. Filo dough, while deeply rooted in history, seamlessly blends into modern dishes. Whether it’s being used as a base for a deconstructed pie in gourmet restaurants or as a crunchy element in fusion food, filo’s adaptability is commendable. And when you’ve made it from scratch, the dish’s authenticity and richness are amplified manifold.
The Science Behind Filo Dough
Unraveling the Magic: The Science of Filo
At the heart of every culinary masterpiece is a dance of science. Filo dough, with its ethereal thinness and crispy texture, is no exception. Let’s delve into the scientific aspects that transform simple ingredients into a work of art.
The Role of Gluten
When flour meets water, the proteins glutenin and gliadin come together to form gluten. This network of proteins gives the dough its elasticity and structure. The act of kneading intensifies this network, allowing the dough to stretch without tearing – a key characteristic of filo.
Insight: Gluten development is a fine balance. Too much, and your dough becomes tough. Too little, and it lacks the strength to stretch thinly.
Oil’s Contribution
Ever wondered why we add oil to the mix? Oil acts as a shortening, coating the gluten strands and preventing them from sticking together too much. This results in a more pliable dough, easier to roll out thinly.
The Importance of Resting
Time, in the world of filo, is a secret ingredient. When the dough rests, it allows the gluten strands to relax, making the dough softer and more extensible. It also ensures even hydration, which is crucial for uniform thinness.
Why Filo Gets Crispy
The magic of filo reveals itself when baked. The high oven temperatures cause rapid water evaporation from the dough, making it crispy. The thinness of the filo ensures that this process is quick, resulting in that coveted crunch.
Optimal Baking Temperatures
For the perfect golden-brown filo, baking at temperatures between 375°F (190°C) to 400°F (205°C) is ideal. This ensures the rapid evaporation of moisture without burning the delicate sheets.
Health and Nutrition Aspects of Filo Dough
Delicate yet Nutritious: The Health Profile of Filo
At a glance, filo may appear as just a thin sheet of baked dough. But delving deeper into its nutritional profile reveals why it’s a preferred choice for many, especially those treading the path of health-conscious eating.
Basic Nutritional Breakdown
Derived mainly from flour, water, and oil, filo dough carries the nutritional properties of these ingredients:
- Calories: A single sheet of filo dough typically contains between 50 to 80 calories, making it a relatively low-calorie choice compared to other doughs.
- Carbohydrates: As it’s primarily made from flour, carbs form the bulk of its nutritional content.
- Fats: The amount of oil or butter used can influence the fat content. However, when used sparingly, filo remains a lower-fat option than many pastry doughs.
- Proteins: Filo contains a modest amount of protein, contributed by the gluten in the flour.
Dietary Fiber and Whole Grains
For those seeking added health benefits, integrating whole grain flours can elevate the fiber content of your filo sheets. Dietary fiber is essential for digestive health and can provide a feeling of fullness, aiding in weight management.
Low in Sugars
Unlike some other pastry doughs, traditional filo does not contain added sugars, making it a suitable base for both savory and sweet dishes. The control over sweetness comes from the fillings and toppings you choose.
Vitamin and Mineral Content
While not a significant source of vitamins and minerals, the type of flour used can influence this. For instance, whole grain flours can add a touch of magnesium, iron, and B vitamins.
Incorporating Filo in a Balanced Diet
Filo’s beauty lies in its adaptability. When used as a part of balanced dishes filled with vegetables, lean proteins, or nutrient-rich fillings, it can fit seamlessly into a nutritious meal plan.
A Wholesome Choice
While moderation is always key in any diet, the elegance and lightness of filo make it a desirable option for those looking to enjoy flavorful dishes without excessive calorie intake. Paired with the right ingredients, filo can be both a treat for the palate and the body.
Frequently Asked Questions (FAQs) about Filo Dough
With the intricacies of making and using filo dough, it’s natural to have a few questions. Here, we address some commonly asked questions to provide clarity and confidence in your filo journey.
1. Can I substitute filo for other types of dough?
While filo has a unique texture and thickness, in some recipes, it can be substituted for other doughs like puff pastry or shortcrust. However, expect a change in texture and flavor. Filo is distinctively light and crispy compared to the buttery flakiness of puff pastry.
2. Is there a gluten-free version of filo?
Absolutely! Gluten-free flours like rice flour or a blend of gluten-free flours can be used. The method remains largely the same, but expect slight variations in texture.
3. Why does my filo turn out too chewy?
Chewiness can result from under-baking or using too much oil or butter between layers. Ensure you bake until golden brown and use just enough fat to coat each layer.
4. Can I use butter instead of oil?
Yes, many traditional recipes use melted butter between filo layers, especially for desserts. Butter provides a rich flavor but can also add to the calorie count.
5. How do I prevent the edges of my filo pastry from burning?
If the edges brown too quickly, you can cover them with aluminum foil while baking, ensuring the center gets cooked without the edges getting overdone.
6. What’s the best way to thaw frozen filo?
Thaw it in the refrigerator for 24 hours. Avoid microwaving or direct heat, as this can make the sheets stick together.
7. How long does homemade filo dough last in the fridge?
When properly stored with parchment paper between layers and wrapped in plastic, homemade filo can last up to a week in the refrigerator.

