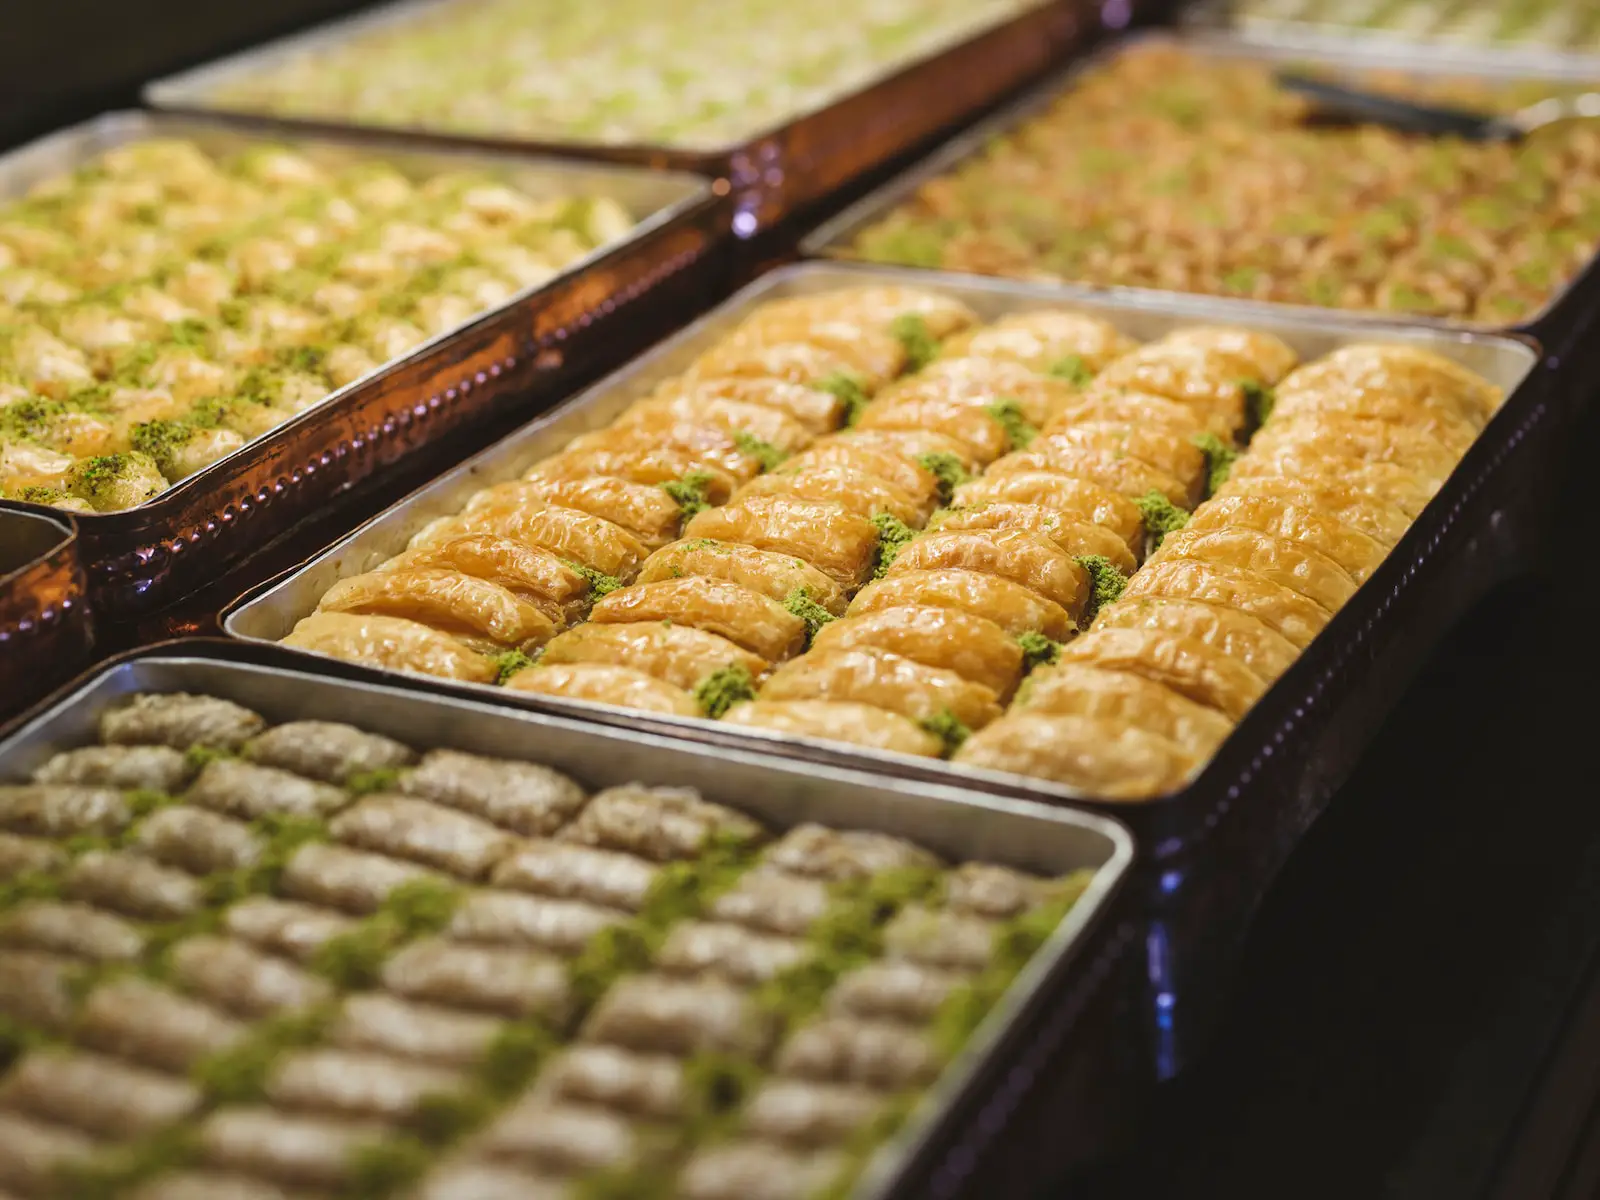
Phyllo dough, with its whisper-thin layers and endless versatility, can be a baker’s dream or a source of frustration. Its delicate nature demands respect, but with the right approach, you can transform this ethereal pastry into flaky masterpieces. So, ditch the intimidation and dive into this guide to conquering phyllo dough!
Thawing and Tempering: A Gentle Start
Frozen phyllo dough is the norm, and proper thawing is key. Plan ahead! Move it from the freezer to the fridge at least 8 hours, preferably overnight. Once thawed, let it rest at room temperature for another 2-3 hours. Rushing this process will lead to cracks and tears, turning your flaky dream into a shattered reality.
Keeping it Moist: The Hydration Hustle
Phyllo dries out faster than a politician’s promises, so constant vigilance is crucial. Keep the unused dough covered with a damp towel or plastic wrap while you work. Work quickly and gently, handling the sheets as little as possible. Embrace imperfection; a few tears won’t ruin your creation, and overlapping layers can add rustic charm.
Fat is Your Friend: The Layering Love Affair
Brushing each layer with melted butter or oil is vital for achieving that coveted flakiness. Don’t be shy! Be generous, but avoid overdoing it, as too much fat can make the dough soggy. Experiment with different fats like olive oil for savory dishes or ghee for a richer flavor.
Folding Techniques: The Art of the Drape
Phyllo’s beauty lies in its folding potential. Master a few basic techniques, and you’ll be shaping pastries like a pro.
- Crumpling: Tear or crinkle the sheets for a rustic, textural base for pies or tarts.
- Brush and Fold: Layer sheets, brushing each with fat, then fold into triangles, rectangles, or envelopes. Perfect for spanakopita or baklava.
- Rolling and Pinching: Roll out a stack of sheets, brush with fat, and pinch the edges to create a sealed pouch. Ideal for savory turnovers or sweet pockets.
Assembling and Baking: The Grand Finale
When assembling your phyllo creation, be gentle. Don’t overwork or press down, as this can make the layers tough. Brush the top with fat for that golden-brown finish, and bake according to your recipe. Remember, phyllo browns quickly, so keep a watchful eye to avoid burning.
Beyond the Basics: Tips and Tricks for Phyllo Pros
- Sprinkling magic: Elevate your creations by sprinkling each layer with chopped nuts, grated cheese, or herbs for added flavor and texture.
- Brushing brilliance: For a touch of sweetness, brush the top layer with honey or a simple syrup before baking.
- Leftover love: Don’t discard scraps! Crumble them and sprinkle over yogurt or salads for a delightful textural surprise.
Phyllo for Everyone: Sweet and Savory Inspiration
Phyllo’s versatility shines in both sweet and savory applications. Here are some ideas to get your creative juices flowing:
- Savory: Spanakopita, tiropita, bourekas, savory strudels, galettes with seasonal vegetables.
- Sweet: Baklava, borekas with fruit fillings, apple strudel, phyllo cups with sweet creams or fruit compotes.
Remember, practice makes perfect! Don’t be discouraged by the occasional tear or mishap. Embrace the delicate nature of phyllo dough, and with a little patience and these helpful tips, you’ll be crafting flaky masterpieces that will impress your taste buds and conquer any phyllo fear.
So, the next time you see a package of phyllo dough at the store, don’t be intimidated. Embrace the challenge, and unleash your inner pastry artist! With a little know-how and a lot of love, you’ll be creating flaky wonders that will leave everyone asking for seconds.
Bonus Tip: Feeling adventurous? Try making your own phyllo dough! It’s a rewarding experience that will give you even greater appreciation for this remarkable pastry.

